

How To Record Your Screen And Voice On Macbook
Regardless of whether you're taking a voice exercise, meeting your good example, or attempting to send a guitar riff to a companion, how to record voice on MacBook is always your concern, and it's useful to have a fair sound chronicle gadget. At the point when you are prepared to record sound on your Mac, you can do so effectively with the stock application that accompanies your PC.
You may not have a clue about this; however, your Mac PC can fill in as a sort of sound motor! The most ideal approach to achieve a sound account on your Mac locally is by utilizing QuickTime. Numerous clients accept that QuickTime is just for playing recordings anyway it's a valuable instrument for some, extraordinary mixed media capacities remembering recording sound for your Mac. There are unlimited instructional exercises about each sort of software there is that you can learn utilizing the Internet. The entirety of this how-to record your voice on Mac guide is conceivable just with the assistance of video recording software, here's all you need.
Part 1: How to Record Sound on Mac with QuickTime
On the off chance that you need to get a know-how of how to record voice on a MacBook and to record some straightforward sound or sound on a Mac, you can do so effectively utilize a packaged application that accompanies Mac OS X, without hosting to download any third gathering utilities. That application is QuickTime, which may come as a shock to certain clients as it's commonly considered as a film seeing application, however in all honesty it has video, screen, and sound chronicle capacities too, making it shockingly incredible on the off chance that you look past the at first clear functionalities.
QuickTime can undoubtedly catch sound contribution from a mouthpiece and save it as a lightweight m4a document, making it ideal for recording fast voice notes, catching discussions, recording audio cues, simplifying ringtones, or whatever other conceivable explanation you'd prefer to record some sound. Since the Mac doesn't have a packaged Voice Memos application as the iPhone does, this truly is the least difficult free approach to catch some sound rather rapidly.
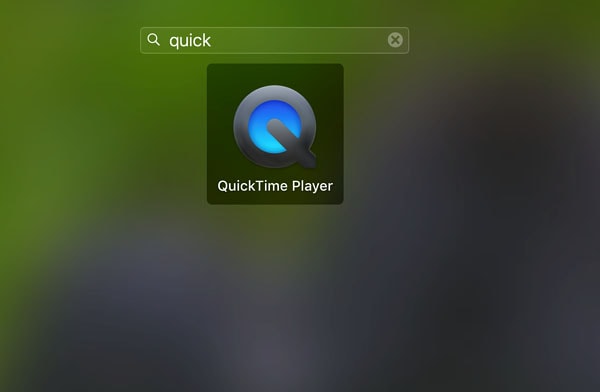
1. Open QuickTime Application
Begin by opening the QuickTime player. QuickTime is more than likely already downloaded onto your device. Simply open the launchpad (the icon with the rocket ship that sits in your quick menu), and either manually find or search for QuickTime in the search bar.
2. Select New Audio Recording
Once the QuickTime Player icon appears, the player is technically open. Right-click the icon at the bottom of the screen and select "new audio recording."
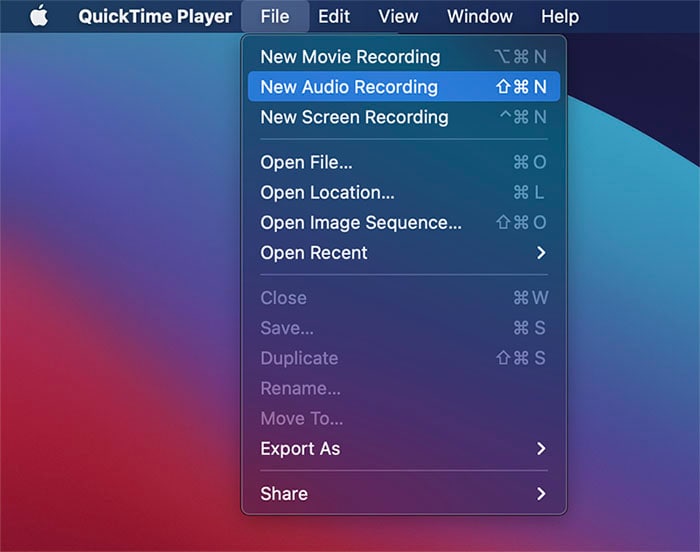
Another way to do this is to ensure the QuickTime Player is selected, then go to "File" at the top of your screen and select "New Audio Recording."
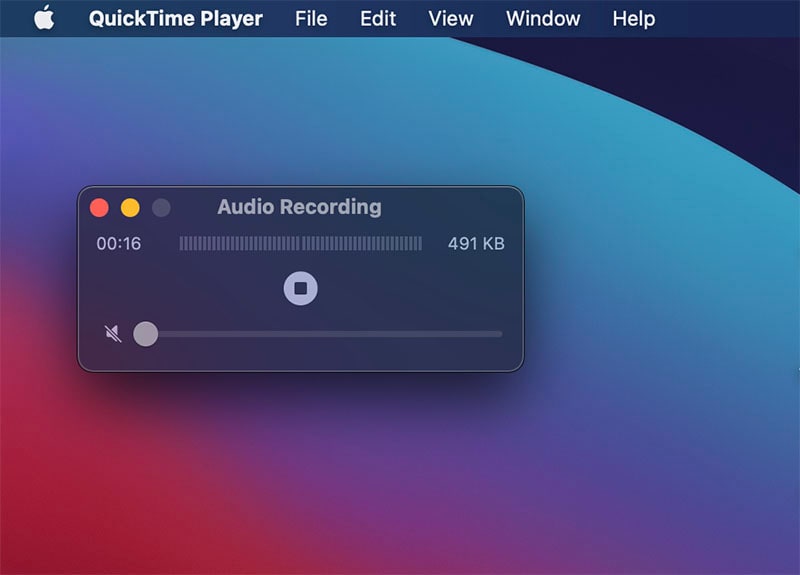
3. Start Recording Voice
QuickTime will open a tiny, tiny window for audio recording. Click on the red circle and you'll see a list of audio devices, select the right one.

Then just hit on the button to start recording sound. May it be a song, speech or background music.
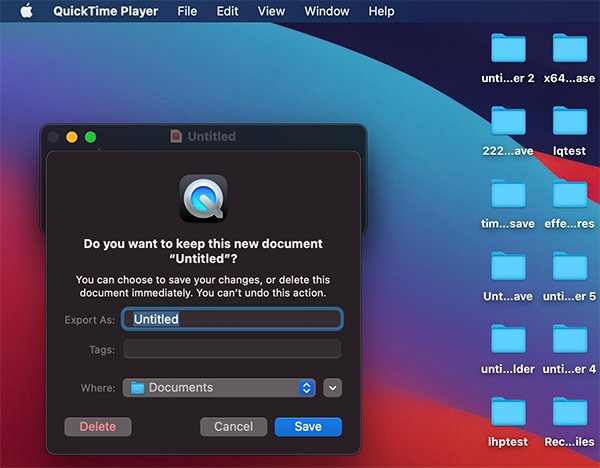
4. Save Recordings
When the process ends, you can name the file and save it to your desired location.
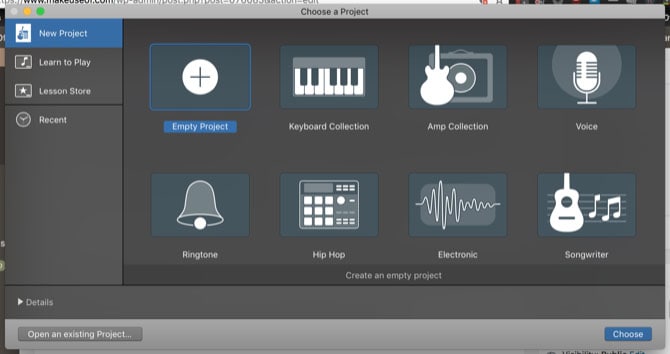
Part 2: Use Garageband to Record Mac Audio
The capacity to make a fast voice recording on your PC can be a convenient apparatus for an entrepreneur. Regardless of whether you need to make a couple of voice notes or make a sound instructional account, you can utilize the GarageBand application on your MacBook Pro to record. While the application offers many confounded highlights intended for artists, you can utilize its "Voice" highlight to record your voice and fare the account as a sound document.
Utilizing your Mac PC to record sound documents is simple since it probably accompanies an inherently simple and computerized converter. The simple receiver can be connected to the Mac line-in port. Utilizing an outside receiver is the most ideal approach to record voice on Mac PC as the quality will be better than underlying mics which are most appropriate for inferior quality applications, for example, fast voice or video calls. To assist you with achieving recording from your Mac PC, follow these below steps to find out more:
Steps to Record with GarageBand:
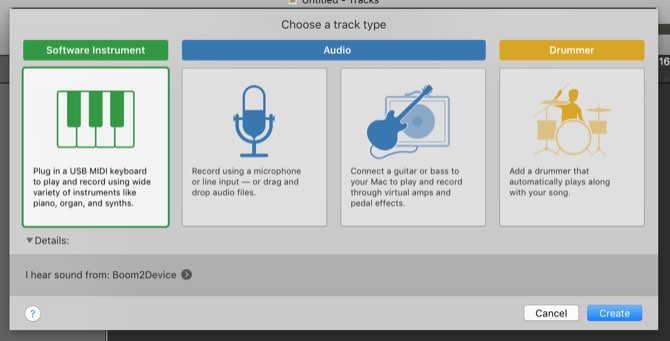
Open the GarageBand app on your MacBook Pro. Open a new file and click on the "Voice" option in the window displaying your recording options.
Type a title for your recording in the "Save As" field. Select the location on your computer where you want to store the recording file using the drop-down menu labeled as Where and then Click on the Create button to open the recording window.
Click on the button marked with a red "Record" symbol at the bottom of the window to start recording. Click the button marked with the "Play" symbol to stop recording. You can click on the "Record" button again to resume recording if desired and click the "Play" button again to stop.
Click on the Share option in the program menu at the top of the screen and select Export Song to Disk to save it as a widely compatible file on your computer. Select the "Compress" option for a smaller file size if desired and select either AAC Encoder or MP3 Encoder.
You can also use the drop-down menu below to select either Low Quality, Medium Quality, High Quality, or Highest Quality. The higher the quality is, the larger the file will be and the longer it will take to export. Click on the "Export" button.
Type in a name for the exported voice file and select the location you wish to export it to when prompted. Wait for your file to export and your recorded voice file to appear in the folder you specified.
Part 3: Record Audio and Video with an Easy Voice Recorder
There are many applications out there that can assist with recording sound on your Mac, some are superior to other people. You will likewise take note that we incorporate GarageBand underneath as an outsider arrangement. A few forms of Mac OS X don't have GarageBand preinstalled and require extra downloading. Another technique, that is quite obvious is the use of a screen recorder which can release the burden of your recording with its automated nature, and for that, we've stated Wondershare DemoCreator for you. The power of this recorder is obvious with its post-editing feature that too without any prior experience or any special plug-in additional installation. It covers every aspect with a single installation.
DemoCreator is a decent application for recording sounds and it has an altering alternative so you can alter your Mac voice record. DemoCreator is open-source and allowed to utilize. It is a considerable amount more impressive than QuickTime and it can record longer documents easily, the included altering, managing, and transformation instruments are far predominant. Utilizing DemoCreator on your MacBook, MacBook Pro or MacBook Air can transform your PC into a compact studio. This application has a ton of highlights that you will cherish, for example, a full library of sounds worked in, a sound synthesizer is likewise included.
Download Now
 Secure Download
Download Now
Secure Download
Steps to Record Audio with DemoCreator:
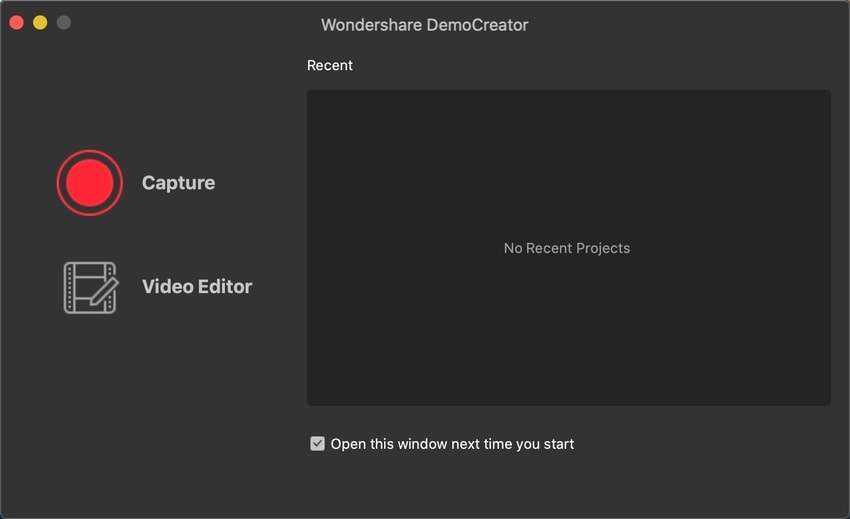
1. Launch DemoCreator Voice Recorder
In the first step, we believe you've downloaded and installed this software on your MacBook, and now you're ready to kickstart this toolkit for recording your voice-over on Mac. Here's the deal as you can directly open this application from the utility folder of your MacBook and go for the New Recording option as shown below:
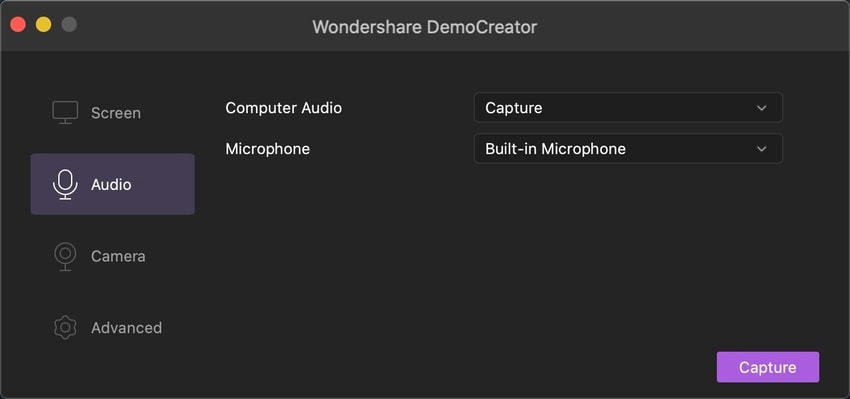
2. Setup Audio Recorder
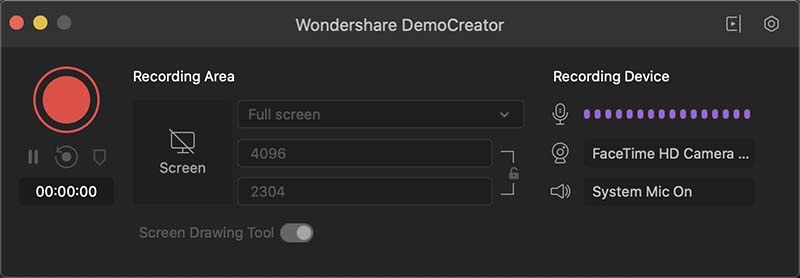
Inside the DemoCreator starting interface, you can opt for the New Recording button and here you go straight to the DemoCreator recorder where you can record your computer screen and the sound from both of your audio sources I-e the attached microphone and your system audio. Refer to this section of the recorder to customize it accordingly.
3. Export/Share your Content:
Lastly, you can hit the Export button as shown below and customize your output file to your desired customizations suitable for you. You can give the specified format as well as the codecs setting to your recorded video content with straightforward exporting options shown below:
Conclusion
Recording into your PC's in-assembled microphone is simple, yet consider the possibility that you need to record sound as it's playing from the actual gadget. As above, we've enlisted a couple of well-known ideas, and you can also get the solution about how to record audio on Windows. These applications can be gotten free of charge, there are likewise some business alternatives accessible. Anything that is emerging from a program, YouTube, Skype, Spotify, video call interviews, live transfers, phone calls, computer games, or some other program can be caught. This is valuable for making your recording content, for example, video blogs, narratives, video instructional exercises, public broadcasts, and web recordings. Contingent upon what source you're capturing, and what framework you're running, the formatting can change, however, we've gathered together the best options for you in this article.
How To Record Your Screen And Voice On Macbook
Posted by: husseyteve1978.blogspot.com
Source: https://democreator.wondershare.com/voice-recorder/how-to-record-voice-on-mac.html
0 Response to "How To Record Your Screen And Voice On Macbook"
Post a Comment