

How To Transfer Voice Memos From Iphone 7 To Computer
How to Transfer Voice Memos from iPhone to PC
If you are looking to backup your voice memos, you might be interested in learning how to transfer voice memos from an iPhone to a computer. There are several methods to do the task and here we show four of those methods to help you get your memos moved.
A voice memo on an iPhone is basically nothing but just a voice recording. People use it to record something that they think they will forget, and sometimes it is also used for music recording. If you have all of these voice memos stored on your iPhone, it is a good idea to copy voice memos from your iPhone to your PC.
It will keep your memos safe and sound on your desktop machine. You will also be able to play them directly on your computer if you want. In the future, if you want to get your voice memos back, you can always transfer them back from your computer to your iPhone.
Feel free to use any of the following methods to copy your voice memos from an iPhone to a computer.
- Part 1. Transfer Voice Memos via Mail/Email on iPhone
- Part 2. Sync All Voice Memos With iTunes
- Part 3. AirDrop Voice Memos to Mac
- Part 4. How to Copy Voice Memos from iPhone to Windows and Mac
Part 1. Transfer Voice Memos via Mail/Email on iPhone
If there are not many voice memos to be transferred from your iPhone to your computer, you can use the email method to do the task. Basically, you can attach your memos to an email and send the email to yourself.
You can then open the email on your computer and download the memos to your machine. It is a pretty neat way to get your voice memos copied to your computers.
Step 1. Launch the Voice Memos app from the springboard on your iPhone.
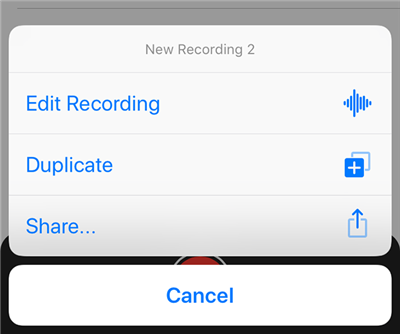
Step 2. Select the memo you want to transfer, tap on the three-dots for it, and choose the Share option.

Share Voice Memos
Step 3. You will see the standard iOS share menu. On this screen, select the Mail option to transfer your voice memos to your computer via email.
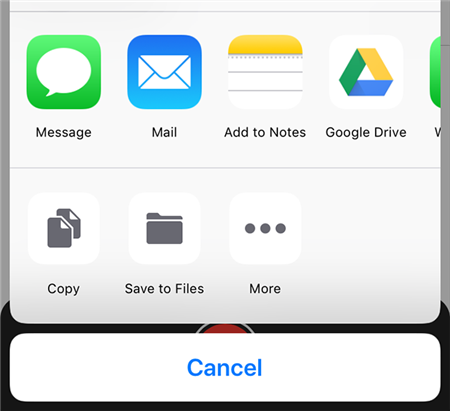
Transfer Voice Memos via Email
Step 4. Enter your own email address in the To field and hit Send to send the email. You do not need to enter anything in other fields.
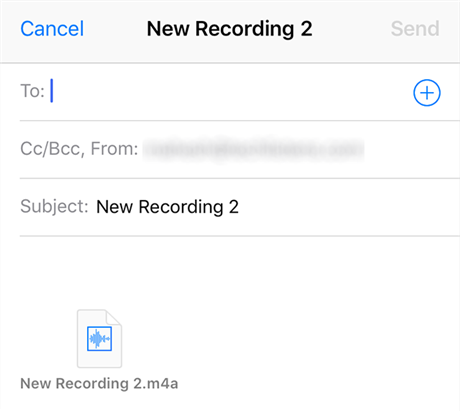
Send Voice Memos via Email
Step 5. Access your email inbox on your computer and you should be able to download your iPhone's voice memos from the email you just sent to yourself.
The method works really great when there are only a few voice memos to be transferred.
Part 2. Sync All Voice Memos With iTunes
If you are an iTunes fanboy and you prefer to use iTunes to transfer data, you can use it to sync your iPhone's voice memos to your computer as well. This way all of your voice memos will become available on your computer.
You are going to sync all the contents of your iPhone with your computer.
Step 1. Launch the iTunes app on your computer and connect your iPhone to your computer.
Step 2. Locate your iPhone in iTunes and click on it.
Step 3. Click on the Summary option in the left sidebar. Then, find the button that says Sync on the right-hand side panel and click on it.
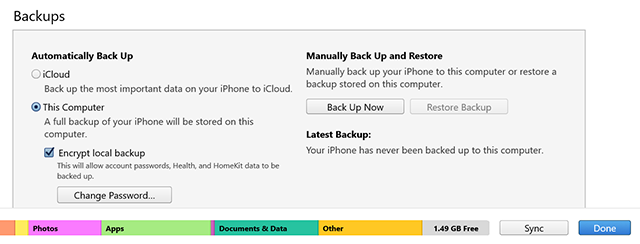
Sync iPhone Voice Memos with a Computer
Step 4. When everything is synced, you should find your voice memos on your computer. The following are the paths where you can find the voice memo files on your machines.
Windows – C:\Users\<username>\Music\iTunes\iTunes Media\Voice Memos
Mac – /Users/<username>/Music/iTunes/iTunes Media/Voice Memos
You can then listen to your voice memos and move them around as you wish.
Part 3. AirDrop Voice Memos to Mac
If you have a Mac machine, you can actually transfer voice memos from your iPhone to your machine via AirDrop. If you do not already know, AirDrop is a feature that allows you to share files between Apple devices.
You can use it to easily copy the voice memos from your iPhone over to your Mac machine. The following shows how to send voice memos via AirDrop.
Step 1. Open the Voice Memos app on your iPhone. Use your preferred method to do it.
Step 2. Choose the voice memo that you want to send to your Mac, tap on the three-dots for it, and select Share. It will let you share your memo with your Mac via AirDrop.
Share Voice Memos via AirDrop
Step 3. Open the Finder on your Mac, click on the AirDrop option in the left sidebar, and click on Turn On Bluetooth on the right-hand side screen.
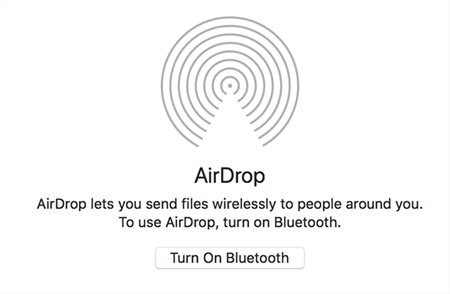
Enable Bluetooth on the Mac
Step 4. You should see your Mac in your iPhone's share menu. Tap on it and your chosen voice memos will be sent to your Mac.
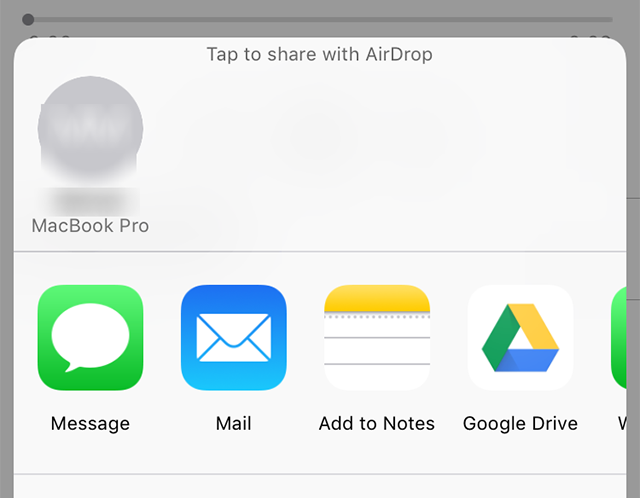
Transfer Voice Memos via AirDrop
You will find the received voice memos in the Downloads folder on your Mac.
Part 4. How to Copy Voice Memos from iPhone to Windows and Mac
While all the methods shown above get the job done for you, each of them has its disadvantages. For instance, the Mail app method is not suitable for a large number of memos. If you wish to use AirDrop, then you are going to need a Mac as it does not work on Windows PCs.
Luckily, there is an app called AnyTrans that helps you transfer voice memos from an iPhone over to a computer regardless of whether it is a PC or a Mac. It works on both platforms and lets you easily move your memos around.
The following shows how to use the app to copy memos from your phone to your computer.
Step 1. Download and install the AnyTrans app on your computer.
Step 2. Connect your iPhone to your computer and launch the app. Tap "Device Manager" and click on the "More" as shown below.
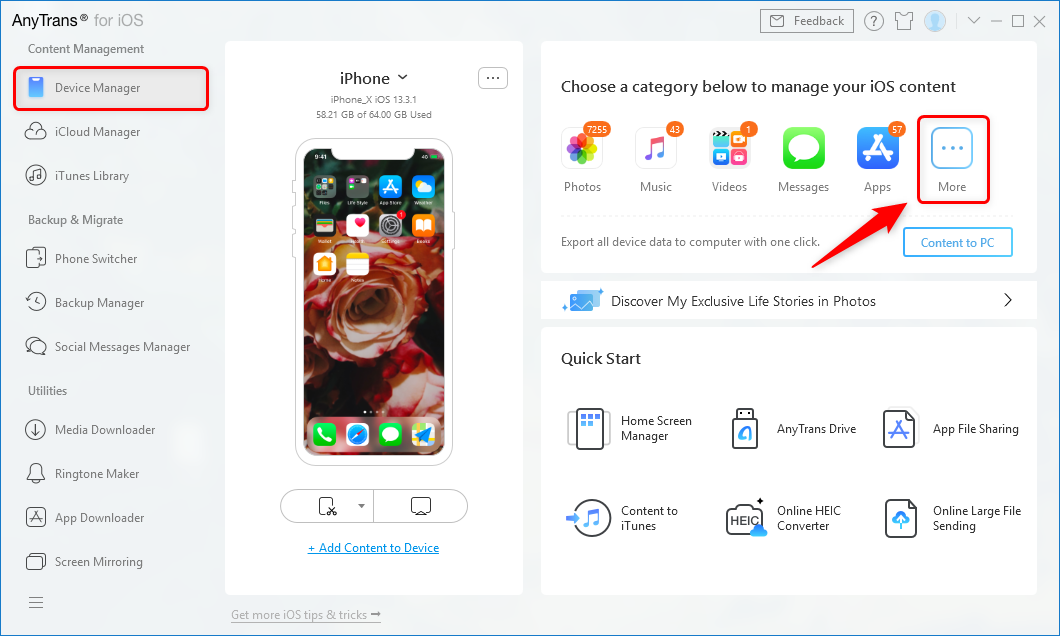
Transfer Voice Memos from iPhone to Computer with AnyTrans for iOS – Step 2
Step 3. Select "Voice Memos" from the left sidebar on your screen. Choose the voice memos you want to transfer to your computer and click on the "Send to PC" button at the top. Your selected voice memos will be transferred to your computer.

Transfer Voice Memos from iPhone to Computer with AnyTrans for iOS – Step 3
You are all set. All your memos should now be available on your computer.
The Bottom Line
That's all for how to transfer voice memos from iPhone to a computer in 4 useful ways. If your voice memos contain important information, AnyTrans is a good idea to learn how to transfer voice memos from an iPhone to a computer. This way you can create a safe backup for your memos, and you can restore them if and when things go wrong.

Member of iMobie team as well as an Apple fan, love to help more users solve various types of iOS & Android related issues.
How To Transfer Voice Memos From Iphone 7 To Computer
Posted by: husseyteve1978.blogspot.com
Source: https://www.imobie.com/support/transfer-voice-memos-from-iphone-to-computer.htm
0 Response to "How To Transfer Voice Memos From Iphone 7 To Computer"
Post a Comment